How to Cure Cannabis: The Step-by-Step Guide

Learning how to cure cannabis effectively is important for any cannabis cultivator. Not only does the drying and curing process help to remove excess moisture from your harvest (which improves shelf life), but it can enhance product quality, improving the flavor and potency of the cultivar.
Creating the ideal curing strategy can be an excellent way to scale your operations, increase your profits, and enrich the customer experience. However, there are several essential steps to follow to ensure you get the right results. The ideal outcome requires growers to create the perfect drying conditions, monitor factors like airflow, temperature, and humidity, and store dry trimmed buds correctly.
Today, we’ll look at all of the key steps involved in the curing process and provide useful tips on how you can ensure you’re getting the most from every plant.
What is Cannabis Curing?
Cannabis Curing is a process that involves aging and drying harvested plant material to fine-tune its moisture content, allow for the controlled decay of sugars and chlorophyll, and improve the characteristics of the final product.
Curing typically takes place after cannabis plants are cut down, trimmed, and dried. There are multiple ways to approach the curing process, as we’ll discuss below.
Curing helps to preserve the product, retain its flavors, aromas, and nutrients, and in the case of cannabis plants, it also helps to retain cannabinoid content.
Why Curing is Important/Beneficial?
From the moment your cannabis plant is cut, it begins to degrade as aerobic bacteria and enzymes break down the starches and sugars produced by chlorophyll decomposition. The presence of those sugars and minerals is typically what leads to a burning sensation in the throat for users if the cannabis hasn’t been cured properly.
The curing process forces the plant to use those residual nutrients, sugars, and starches before they degrade. However, it also stops the degradation process before valuable compounds like cannabinoids and terpenes evaporate or morph into other compounds.
This means a good cure can improve cannabis flavor and aroma, and increase its potency, because cannabinoid synthesis continues even after harvesting, due to the effects of oxygen. Some studies suggest proper curing can increase certain cannabinoid’s content by 2%, enhance CBD content by 3%, and reduce smoke harshness by 50%. The most significant benefits of curing include:
- Product enhancement: Effective curing enhances the final product in various ways. A slow cure at the proper temperatures will preserve aromatic compounds, enhancing flavor and aroma. It can help to increase the potency of your buds, and also improve the smoothness of the product, removing excess chlorophyll sugars.
- Increases shelf life: Properly cured buds can be stored in airtight containers in a dark, cool place, for a longer time, without risking a loss in potency. Longer curing can even help to enhance cannabinoid conversion.
- Reduced risk: Effectively drying and curing cannabis properly means paying close attention to the moisture content, and any other elements that can harm your final product. The right strategy will help to prevent mold growth, mildew, and additional bacteria from degrading the buds, ensuring they maintain their value.
How to Cure Cannabis: Step by Step
Discovering how to cure cannabis effectively can help to optimize the lifespan, potency, flavor, and aroma of the finished product. When given the proper care and attention, your buds can reach their full potential—and last in storage for months at a time—without diminished taste or potency.
There are several steps involved in the process of curing cannabis, during which the molecular makeup of your flowers will continue to evolve. Certain cannabinoids will convert to CBN, while specific terpenes will increase in potency. While the exact process you follow may vary depending on your chosen cultivar, you will need a selection of crucial resources to help you through the process, including:
- Effective trimmers, buckers, and harvesting tools
- A dark and controlled environment where you can store your cannabis buds
- Air-tight curing containers to eliminate contamination
- Drying resources for removing excess moisture
- Tools for testing the potency and quality of your product
Here are the key steps you’ll need to follow.
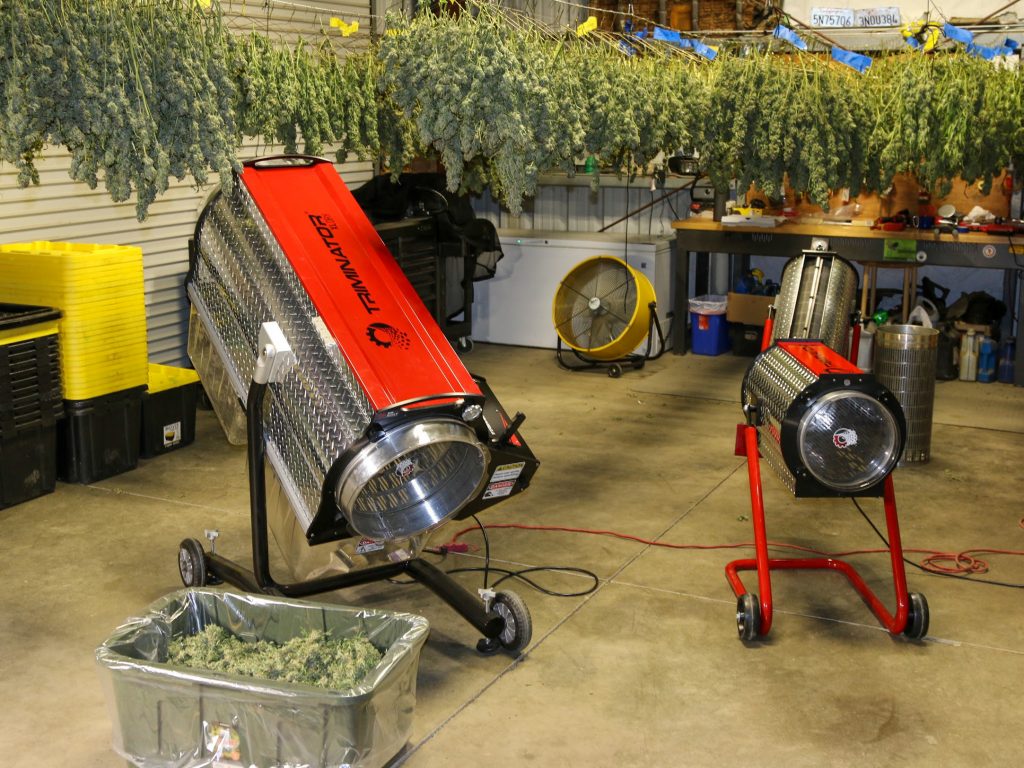
Step 1: The Harvest
The first step in curing cannabis is harvesting your flower correctly. You’ll need to ensure you’ve trimmed the plant well, removing excess stems, sugar leaves, and unnecessary plant material. Specialized trimming machines ensure you can preserve the quality of the cannabis buds without adding any extra plant material to your finished product.
Additionally, an effective harvesting process will ensure you can separate the leftover biomass from your buds, so you can use it for other processes, such as composting, and the creation of oils and tinctures.
Step 2: Preparing Buds for Curing
Once you’ve harvested your plants, the next stage is preparing them for the curing process. The most important step is drying the buds, removing excess chlorophyll and moisture, so the terpenes and cannabinoids can flourish. The length of the drying process will vary depending on the cultivar chosen, and your trimming method.
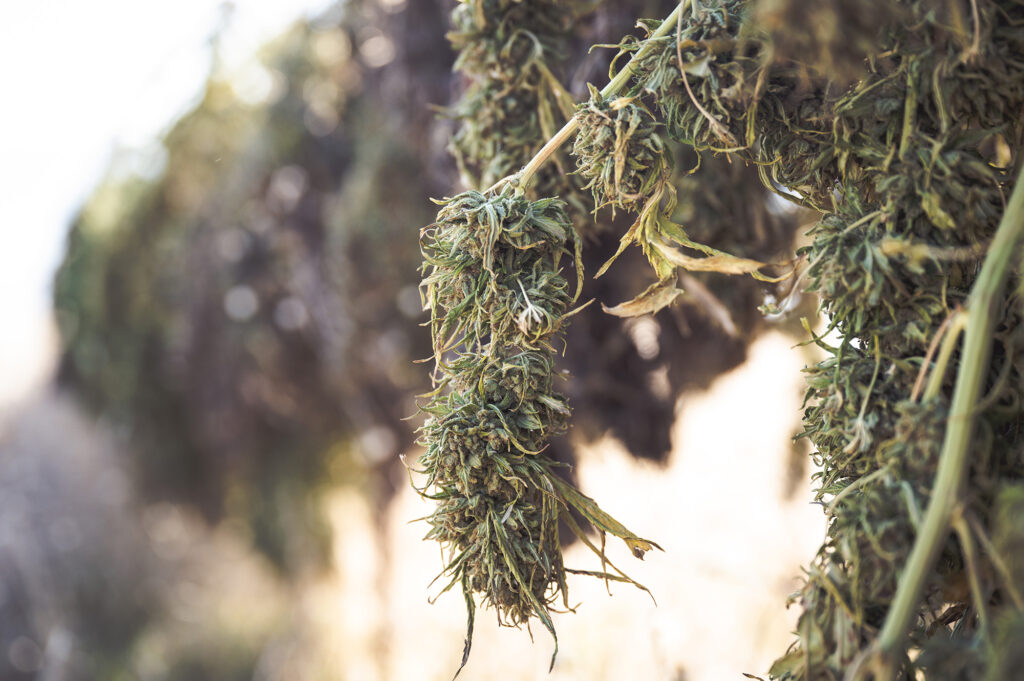
In some cases, the process can be shorter when utilizing wet trimming methods because most of the excess plant material can be removed, leaving less to dry. When dry trimming, you will typically hang harvested plants upside down to prevent buds from getting flattened during the drying process. With wet trimming, it’s common to use a specialist drying rack. In both instances, you’ll need a dedicated drying room.
The best drying room will be dark to eliminate the impact of excess heat and sunlight. Sunlight UV rays can degrade the cannabis plant’s quality.

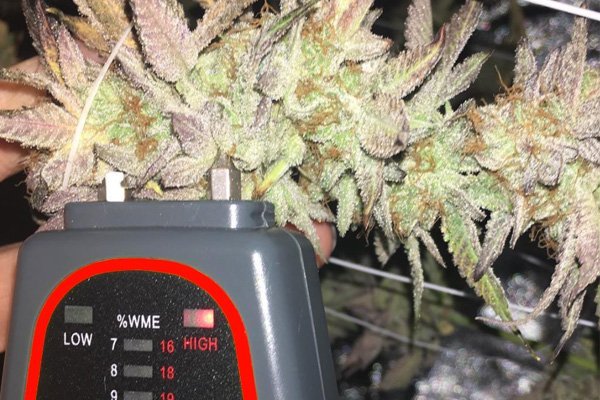
When drying cannabis, you’ll need to ensure the temperature of the space is around 60-70°F, with a relative humidity level of no more than 65%. A hygrometer will give you an easy way to monitor these numbers and ensure you preserve the right conditions.
Since air circulation is critical, it’s worth investing in a fan or air conditioning unit to help maintain the desired atmosphere. Drying cannabis buds by hanging them is a simple and easy method, but it may require more space than you have available. Larger plant branches are hung to dry rather than first separating individual buds through bucking. If you’re wet trimming—meaning you remove the excess plant material from the buds before drying—you’ll need a flat rack made of mesh to ensure optimal airflow around the buds as they dry.
Step 3: The Curing Process
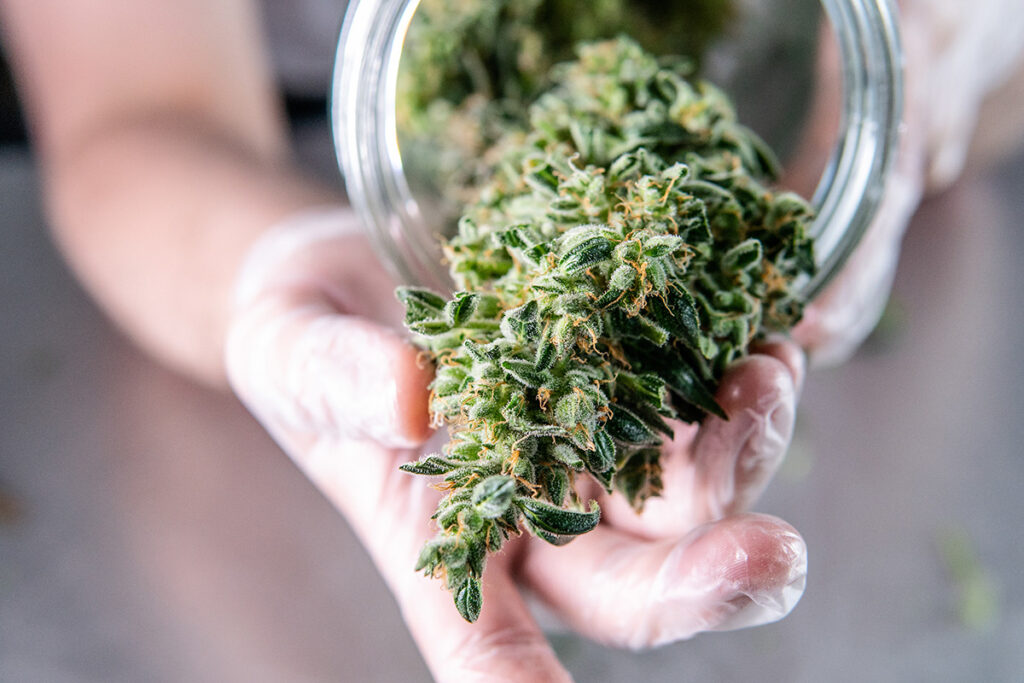
Once the flower has been dried, it’s time to start curing it to increase its potency and improve its flavor and aroma. An airtight container is crucial to the curing process, as it will prevent excess air and contaminants from influencing product quality. Avoid using plastic bags or other products that aren’t impervious to oxygen. Glass jars are a great option for storage.
For the best curing results, pack the dried buds loosely in the glass jar and seal each one completely before placing them in a cool, dark place. You’ll need to monitor them daily for signs of mold as the buds will continue to dry and will need fresh air in the jars.
Pay attention to the humidity inside of the jar or curing container, ensuring it doesn’t go above 65%. If you need more moisture, add a humidity pack. Alternatively, if humidity levels are too high, leaving the lid off for a few hours can help excess moisture evaporate.
The curing process will naturally begin after you’ve placed your buds in storage. During this stage, the buds continue to lose moisture as they dry further and cure. Many of the terpenes that give your product its unique flavor and aroma will start to flourish.
A slow dry and cure will improve the flavor and aroma of your buds, preventing crucial compounds from breaking down. In general, after about 2 to 4 weeks in your airtight containers, your product should be cured enough to deliver a high-quality, flavorful, and aromatic experience. While some cultivars benefit from months of curing, others take less time overall.
Step 4: Monitoring
While curing is a relatively organic process, it still requires work from the grower. A big part of knowing how to cure cannabis effectively is understanding how to monitor and preserve temperature, airflow, and humidity. When curing your product in airtight containers, check the buds a day or so after the process begins, paying attention to the humidity levels. During the first week, the lids on your jars should generally be removed once or twice a day to allow the buds to breathe. This is known as “burping” the product, and it allows excess moisture to escape.
Following the first week, you can continue burping the product every few days, continuing through to the fourth week of the curing process. Keep monitoring the humidity levels with a hygrometer. If your jars have a humidity level higher than 65%, you may need to remove the lids for a short time so the buds can dry out again before resealing them. Other signs that your buds are too wet are if they take on an unusual smell of ammonia or mold begins to form. Once again, you’ll need to remove the lids on the jars to ensure the flowers can dry out.
Keep in mind if you’re curing large quantities of your flower in a single curing room, you will need to pay careful attention to each batch. Check humidity levels, temperature, and airflow regularly for the first few weeks, and make sure the lights are turned off when you leave the room.
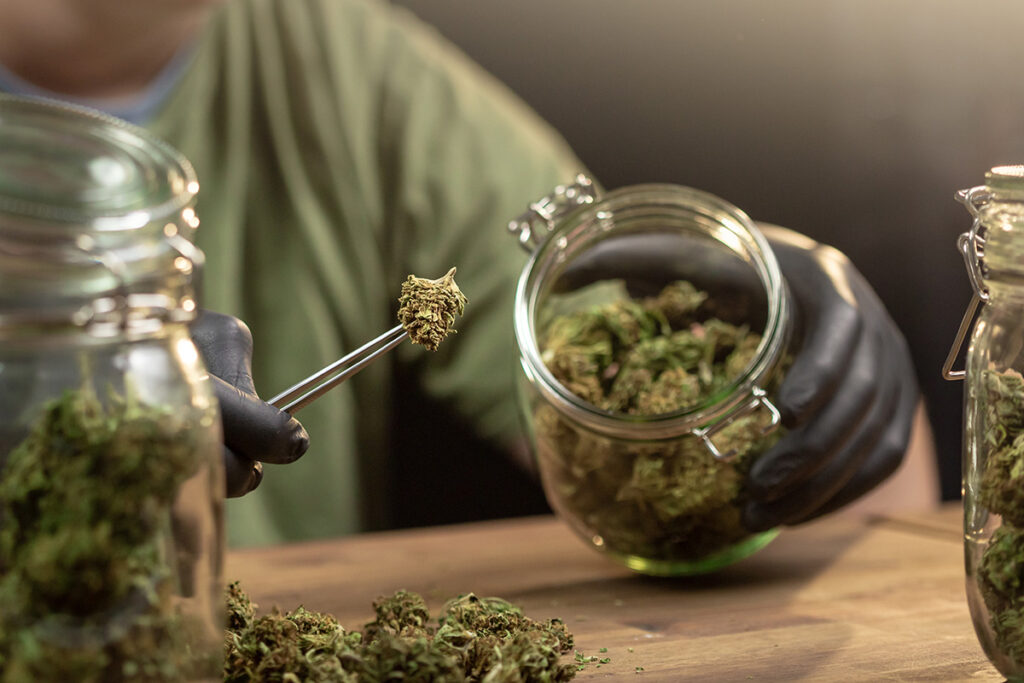
Step 5: Testing Cured Cannabis Quality
The final step is testing the quality of your product. Accurate testing is essential for several reasons. First, it ensures the dried cannabis is safe for consumption by allowing you to check for any contaminants, such as mold or mildew. Testing also allows you to verify the potency and quality of the product, from its aroma and flavor to its overall appearance.
There are various methods growers can use to check the quality of their cured product. For larger industrial growers, lab testing is a standard option. This involves sending a sample of the product to a laboratory for analysis. The lab can check for potency, contaminants, and other quality factors like terpenes. Another option is to examine the smell and appearance of the buds.
A good product should have a vibrant color and a strong aroma. Some growers may also smoke or vaporize some of the product to test flavor and potency. When testing your cured product, look for:
- Potency: Examine the cannabinoid levels of the flower to ensure they’re in the desired range
- Aroma and flavor: Check for a strong and pleasant aroma and flavor
- Appearance: The flower should have a vibrant color, free from discoloration
- Contaminants: Pay attention to any signs of mold or other contaminants
Step 6: Storage
When properly stored, cured cannabis can maintain its flavor and potency for up to two years. Excessive heat and sunlight can cause cured buds to degrade, losing cannabinoids and terpenes.
The ideal storage conditions rely on three crucial factors—temperature, humidity, and light.
Lower temperatures help prevent the degradation of potency and also help to keep products dry. In addition, keeping humidity levels between 55-65% prevents mold and mildew and maintains aroma and flavor. Also, UV rays will naturally break cannabis over time, so keep your buds away from strong or direct light as much as possible.
Cultivating the Perfect Curing Strategy
Learning how to cure cannabis correctly is an essential part of producing a high-quality product. The better your curing strategy, the more potent, flavorful, and durable your flower will be. An effective curing strategy will improve the quality of your harvest and ensure your buds last longer in storage, helping you to get the most value from your product.
Keep in mind excellent curing starts with properly preparing your buds. The right tools, such as professional trimmers and buckers, can significantly reduce drying times, improve curing quality, and reduce the amount of waste in your batches. Triminator offers a range of products designed specifically to help growers get the most value from their harvests. Contact us today to learn more about how we can help you prepare your buds for the ultimate curing process.
Like what you read?
Get more insider industry knowledge sent right to your inbox
"*" indicates required fields